Did You Say Gluten Free Cake?
The life of a Celiac individual is a struggle, especially when you have spent your entire life baking and using flour. Most of the time, I cannot find gluten free desserts that hit the same way that their glutenous counterparts do. But here is a cake that truly exceeds every expectation of a cake. The guests at my wedding were unable to tell that the cake was gluten free. They only knew when I took my first bite during our toast!
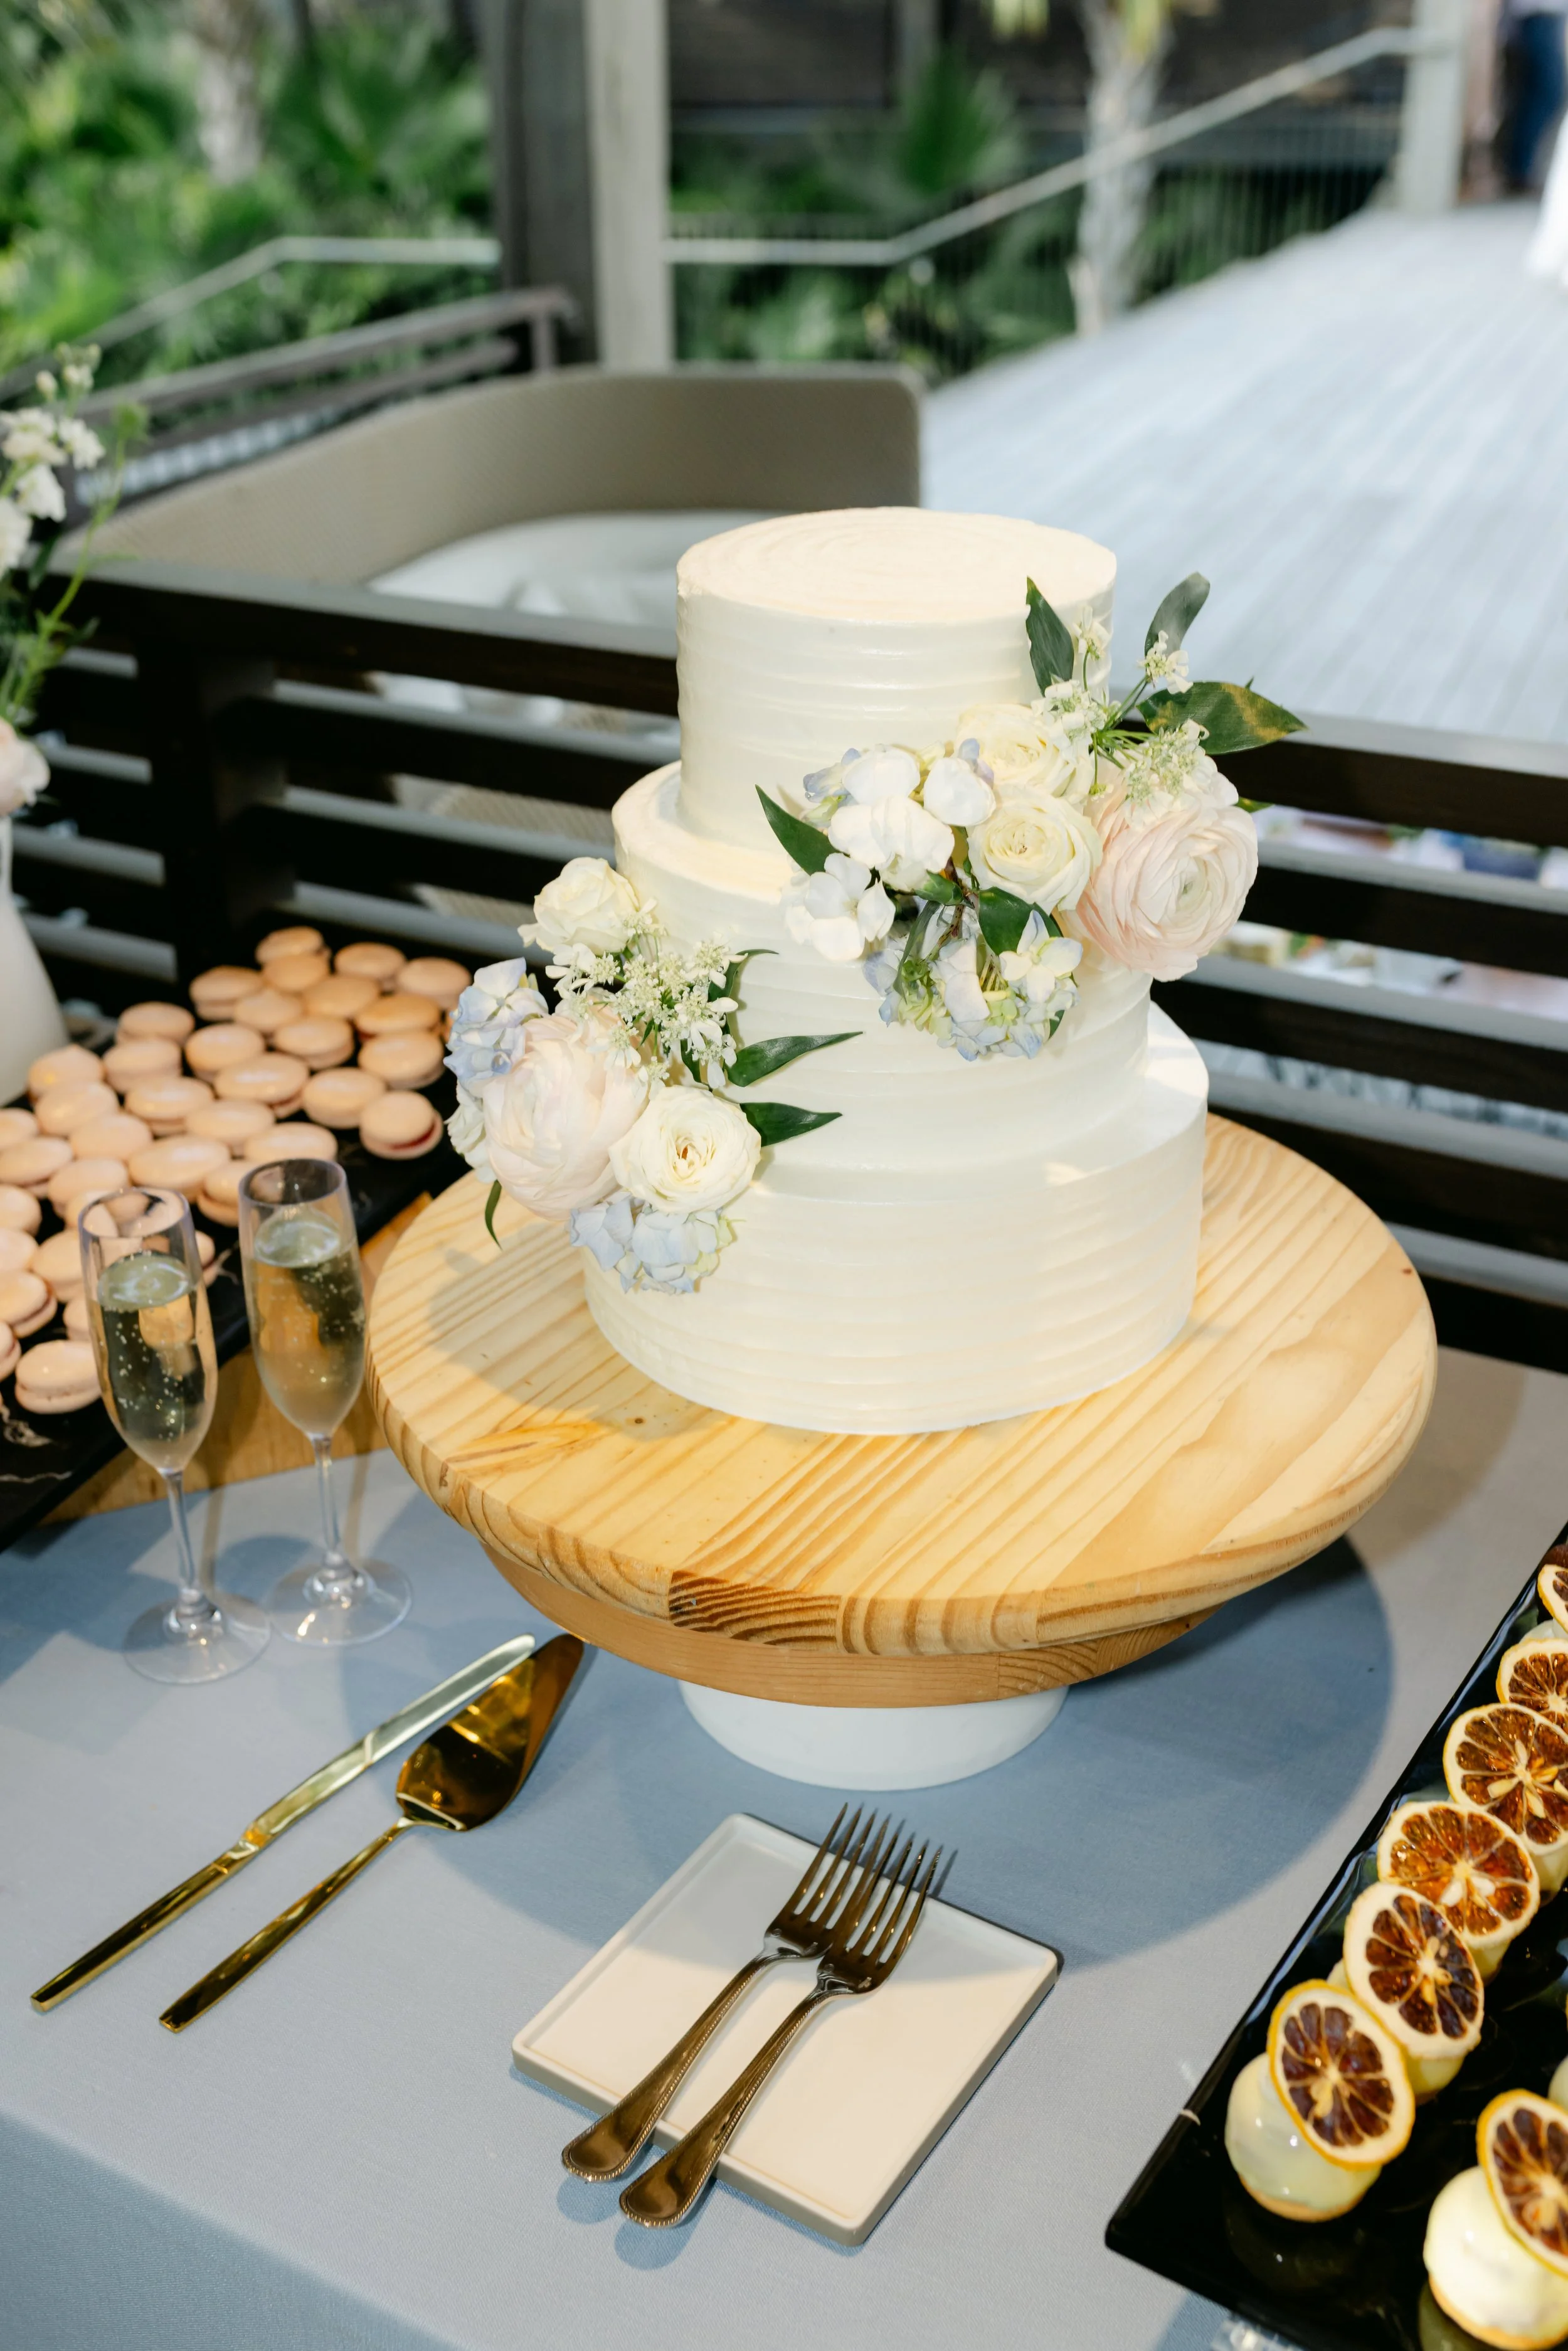
The perfect cake for any event!
Ingredients:
340 g King Arthur GF all purpose flour
32 g baking powder
7 g salt (kosher or sea salt)
170 g butter
425 g granulated sugar
170 g skim milk
1 tsp vanilla bean paste (or 1 1/2 tsp vanilla extract)
170 g skim milk
227 g whole eggs
Directions:
Preheat the oven to 350 Fahrenheit.
Line the bottom of 2 - 8 inch cake pans with cooking spray or butter and then place parchment on the bottom. Grease the parchment paper as well. This should help the cakes come out of the pans easily once they are cool.
In a mixing bowl, sift together the GF flour, baking powder, and salt. Once sifter, add the butter in cubes.
In a separate bowl, combine the sugar, vanilla, and the first quantity of milk.
In a third bowl, combine the second quantity of milk with the whole eggs.
Let the mixer run on low with the GF flour mixture and butter until incorporated. Do not worry, it will look grainy. On low speed, slowly add the sugar, vanilla, and milk mixture. Scrape down the sides of the bowl and let it mix to remove any large lumps.
Still on low speed, add half of the milk and egg mixture. Then scrape the sides of the bowl and add the rest of the milk and egg mixture. You should have a nice homogenous mixture.
Divide the cake batter in to 2 - 8 inch cake pans.
Bake at 350 Fahrenheit or until the cakes are golden brown and pulling away from the edges of the pan. A toothpick should come out clean from the center of the cake.
Allow the cake to cool completely before frosting and decorating.
If you post my recipe, please give me credit. Thank you for your support!